


Who am I?

- ~Iffy~ @ StayAtHomeNation
- Hi, I'm Cameron (aka Iffy), a stay at home mother to 4 beautiful children. My family is my life! I am not crafty by nature....but I am learning =D I will share my experiences with you(good & bad) with crafts, DIY, cooking, and life. I say what's on my mind, and remain honest, it's just who I am. Love it or leave it =D So follow me and see my progress as I document my journey, and If All Else Fails....at least you have gained a friend and gotten some great tips or maybe learned something new along the way!
Sunday, May 22, 2011
Lovely House Rules on A Canvas ~ My Favorite Things Link PARTY
Here is my latest creation

This was so simple to do and I absolutely adore how it turned out.
I know I'm a little late jumping on the subway art bandwagon,
but that's OK because I do things on my own time.
More so when I want to, not because everyone else is doing it. I had ordered a picture on canvas about 2 years ago, but when I received it, there was a bunched up area of protective coating. They replaced it with a perfect photo canvas & told me to keep the messed up one.
Since I knew I was not going to use the image that was on it, as I had a replacement & since this one was damaged.
I held onto it thinking maybe one day I could do something with it.
So today was that day.
First I carefully peeled the protective coating off of the canvas. This in turn lifted the photo along with the coating.
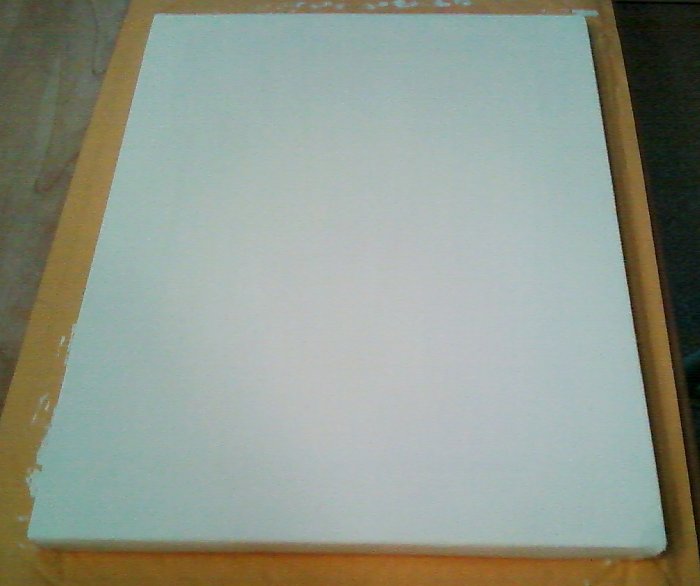
I then painted the whole canvas with 2 coats of white acrylic craft
paint,
letting it dry 3 hours between coats for good measure.
While the paint was drying, I typed up our house rules using different fonts and sizes for each.
While the paint was drying, I typed up our house rules using different fonts and sizes for each.
I even put a few words in different colors to make them stand out.

I printed my house rules directly onto
tissue paper(thanks Stephanie!).
I cut the tissue paper just shy of a piece
of 8.5" x 11" printer paper so it wouldn't
jam in the printer.
I folded the tissue paper over & taped it to
the back with a piece of
clear packing tape.

I then cut out my rules and paired them up as to
how I wanted them to read.
of 8.5" x 11" printer paper so it wouldn't
jam in the printer.
I folded the tissue paper over & taped it to
the back with a piece of
clear packing tape.

I then cut out my rules and paired them up as to
how I wanted them to read.

Next I arranged them on the canvas to get an idea of where
I wanted them placed.

I painted a light layer of it onto my canvas working a section at a time.
Little by little I painted a row of Mod Podge, then (while still wet) I laid the first row of rules down.


I continued this until my canvas was covered in rules.
(Be sure to smooth the tissue paper down as you go)

I let this dry for about 20 minutes and then painted the canvas with
two top layers of Mod Podge
(letting it dry 30 minutes between each).
(letting it dry 30 minutes between each).
This helps protect your canvas from peeling up.

Be careful not to brush over the tissue paper too much, as it is delicate

and could tear & smear.....like mine.
Which I'm totally fine with as it adds a distressed look.
After the canvas was dry, I decided to add some ribbon around the edges.
I really love this sweet, romantic print on the ribbon.


I started at the bottom of the canvas, and glued the ribbon around the trim with my hot glue gun.

I glued a little at a time and laid the ribbon down then gently rubbed the ribbon to smooth it out.

I glued a little at a time and laid the ribbon down then gently rubbed the ribbon to smooth it out.

Then I cut the ribbon and glued that down too.

So, I cut some ribbon the width of my canvas, & added a bow to that.
I had never made a bow before so I just improvised (please don't critique my bow as I just made it on the spot & had no idea what I was doing)
It's not perfect but I like how it turned out, so I'm happy.

So I then glued the bow to my ribbon with
hot glue and
then hot glued the ribbon across
the front of the canvas.
the front of the canvas.

You could do this step first(before the ribbon along the trim)
to avoid the edges from being frayed.


I also had some small white artificial flowers that have been sitting in my craft drawer,
so I cut off 3

I found that the closer you cut them to the base of the flower, the flatter they sit....I know common sense right? I thought I had cut them short enough until I stuck the first flower into the hot glue. See the one on the left is a little tipped?
I think the flowers add even more of a feminine feel to it.
With all the little imperfections from the wrinkles in the tissue paper,
to the fray of the ribbon,
I love it because it's one of a kind just like my family.
to the fray of the ribbon,
I love it because it's one of a kind just like my family.
Just lovely, isn't it?
So now it's your turn, link up to My Favorite Things Party

Grab my button code below:
How to Join My Party:
1-Grab the code to my button above & paste it into your entry post
2-Show off your favorite things(crafts, recipes, DIY, anything you have posted on your blog-But
Keep It Clean!)
& Link up below (2 entries allowed)
3-Follow Me if you like my blog-not required but it would be nice =D
4-Leave me a quick comment just to say hi so I know who's partying with me this week
5-Check out at least 1 other entry & comment on their post & let them know you saw them at my party.
Entries will list in reverse order-
giving everyone a chance to shine at the #1 spot.
My party will be open all week, so tell your friends~
because the more the merrier!
Please help me spread the word about my blog as I will have some really great giveaways once a month, beginning in June, so be sure to check back often!
Thanks for stopping by!
~Iffy~
Partying with


 Coastal Charm


Subscribe to:
Post Comments (Atom)


That was very cute and inspiring. Thanks for sharing with my newbie party.
ReplyDeleteVery cute! I love the ribbon with the bow. I'm visiting from Debbiedoos and am now following you.
ReplyDeleteMelanie
youmadethat.blogspot.com
Hi, I'm now following you and hope you come follow me, too.
ReplyDelete@⚜ ↁℯℬℬᴵℰ⚜ Thanks so much for your sweet words!
ReplyDelete@MelanieWelcome new friend! I don't know what happened with my party link, but it's fixed now so be sure to link up!
ReplyDeleteThanks so much for stoping by Homespun Kitchen! I linked up!
ReplyDeleteHi there :)
ReplyDeleteFound you through Tip Junkie and wanted to say hi. I am your newest follower!
Heather
http://ourcrazybusybunch.blogspot.com/
That looks great! I enjoyed reading your profile- you sound like my kind of friend! I'm your newest follower :)
ReplyDelete@Helen's Decor Thank you for following my blog! I love that clock & you have a great blog as well. Nice to have a new friend =D
ReplyDelete@CaraWow I really wish blogger comments would reply under the comment I reply to. Lol Anyways, thank you so much for partying with me!
ReplyDelete@The Crazy Busy Bunch Heather, welcome, it's nice to meet you. Thank you for following my blog!
ReplyDelete@Ispirato DesignAww so sweet, thank you and welcome. I'm glad to have you as a friend =D
ReplyDelete